✓ You’ve learned to invert on the pole. Yayy, off to intermediate level. 🐣
✓ You’ve mastered your first tricks upside down – leg hangs, Crucifix, elbow/handstand. 🐛
✓ You’ve got some of the fundamental aerial tricks – Butterfly, Jade, Superman. 🦋
✓ You’re slowly making your way towards more advanced moves with fewer contact points, like Extended Butterfly. 🚀
This is the moment when the Handspring – the most popular arms-only move – doesn’t seem that impossible anymore. It seems closer than ever.

You’re ready to try and jump straight into it.
But are you actually ready for the Handspring?
Caution! The twisted grip Handspring is often the cause for shoulder rotator cuff injuries, which is the most common injury in pole dance. I’ll explain why in a second.
But first:
What are the PREREQUISITES for Ayesha & Handspring?
For Ayesha you should have a solid Crucifix, Extended Butterfly and feel comfortable in pole-assisted handstands.
For Handspring you should have the Ayesha, which however doesn’t need to be rock-solid. It’s ok if you’re still finding your alignment and balance, but you should feel like you’re engaging the right muscles and have the strength to hold the move.
Let’s talk GRIPS.
Isn’t it fascinating that one and the same move can be performed with different grips? And that each grip makes the move feel easier or harder?
The most common grips for Ayesha and Handspring are True Grip and Twisted Grip. Further, you’ll see it being done with Cup Grip, Elbow Grip or Baseball Grip.
The Twisted Grip tends to be the easiest for most students, followed by the True Grip. The other grips usually feel harder.
That’s why many teachers use the Twisted Grip when they teach Ayesha and Handspring to first-time students.
BUT there’s a little problem with the Twisted Grip.
The pole dance industry has become aware of it in the last few years and some famous pole dancers even suggest avoiding it completely.
The Twisted Grip has gained a bad reputation. It’s become the elephant in the room.
🚫 There are three problems with it:
1. It’s a less than optimal position for the shoulders to hold our body weight.
2. Our bodies are not used to this position from everyday life.
3. We (polers) tend to overuse it when we learn Handspring – we repeat it over and over again without the necessary strength and mobility conditioning.
Put simply, you could „hang“ in it without engaging the right muscles, and thus damage your shoulder.
So why do we even learn and teach this grip?
As I mentioned earlier, it’s an easy gateway into the world of Ayesha & Handspring. You don’t have to be able to deadlift to nail these fascinating tricks.
Avoiding it completely isn’t a good option either. Whether you plan it or not, you may find yourself in this grip during different combos.
💡My personal opinion: If you condition your shoulders properly, it’s a safe and very useful grip. Instead of banning it completely from the pole curriculum, let’s learn to prepare for it and perform it safely, without risking injuries.
My TOP TIPS for Ayesha & Handspring:
- Work on your split grip (upside-down) to be able to hold your body weight with your arms
- Work on core strengthening to be able to get your hips up in Handspring (similar like in Shoulder Mount)
- Use a resistance band for extra support in Handspring
- Start with easier progressions and make your way to more difficult variations progressively
This is exactly what you’ll learn in my on-demand classes „Ayesha & Handspring“.
- Warmup and pole exercises designed specifically to prepare you for these moves
- Step by step progressions and variations
- Detailed explanations, common mistakes and questions uncovered
- Fun combos and sequences.
Here’s a sneak peek:
You’ll get 4 recorded full-length classes (at least 90 minutes each). Enjoy video and audio in full HD (no bad-quality Zoom recordings). Keep the videos forever and practice at your own pace.
The lessons are now available in the on-demand library. Yay!
FAQ:
Is my level right for this class?
You should have a solid Extended Butterfly and feel comfortable with pole-assisted handstands.
The material progresses throughout the month. If you have a solid Butterfly but you‘ve never attempted Ayesha, purchase the first two classes and see how far you come. If you’re more experienced, purchase the entire package (or the later classes).
Not sure about your level? Send me an email.
Do I need a resistance band?
It’s not a must, but it will be helpful.
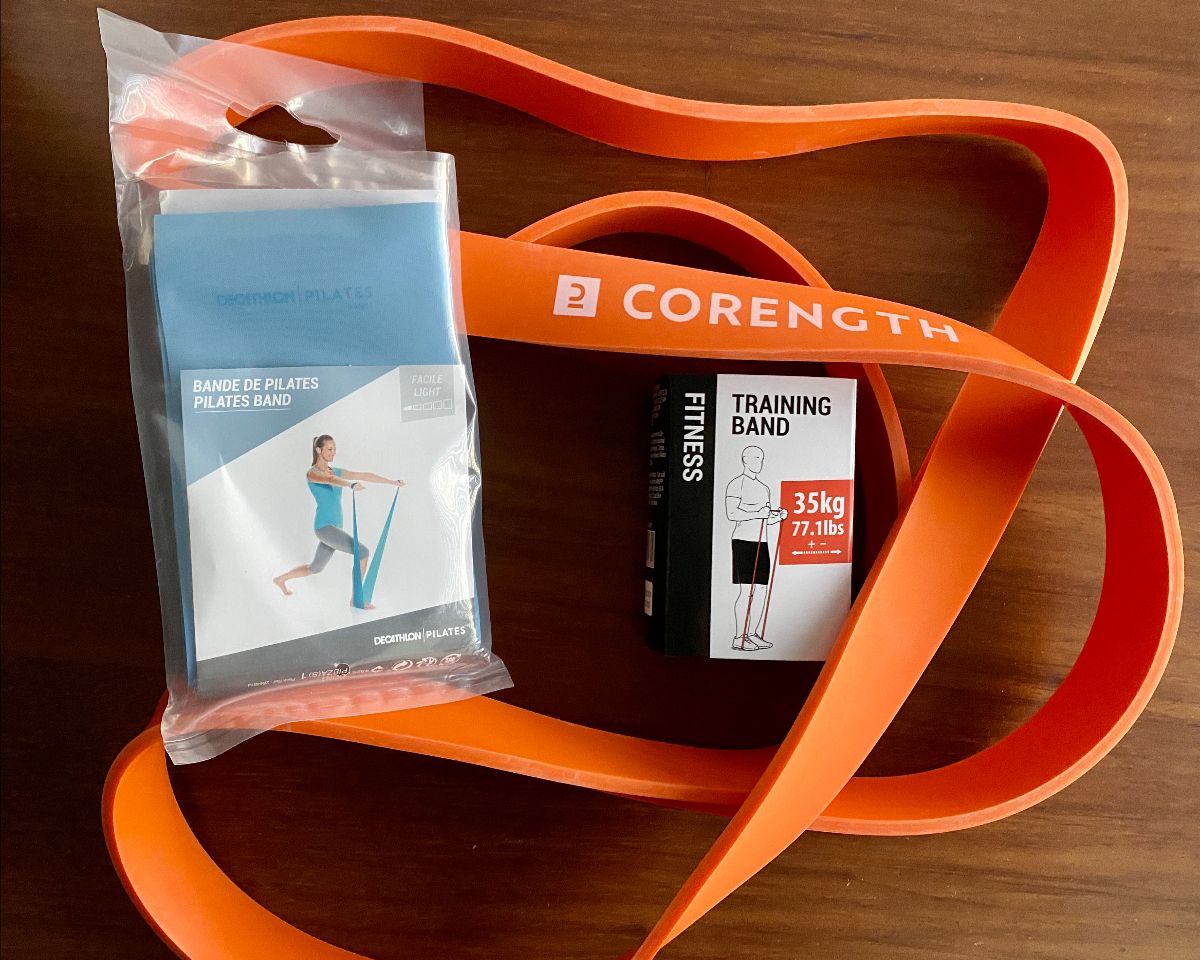
If possible, get a thick resistance band, as well as a light elastic Thera band. I got mines from Decathlon:

You can also order online:
Rubberbanditz resistance band (the neon green one)
Theraband on Amazon
As an alternative to the Thera band, you can use some very stretchy old leggings. Unfortunately I’m not aware of any alternatives to the thick resistance band.
Low ceiling? Static/Spinning/Stage pole?
There are no special requirements for a pole or ceiling height. You just need some space around the pole for the handsprings.
The material is 80% on static, 20% on spinning. But you can do everything on static. I recommend sticking to static if your Ayeshas & Handsprings don’t feel solid yet.
What’s your experience with Ayesha and Handspring so far?
Did you just start learning, are you a long-time struggler or are you a pro?
Let me know in the comments.
Leave a Reply